ROL에서 AU374 Developing Advanced Automation with Red Hat Ansible Automation Platform 교육 과정을 보고 있습니다.
AWX를 설치하려고 살펴보니 현재 권장되는 설치 방법은 awx-operator를 사용하는 것입니다. AWX 오퍼레이터가 권장되는 이유는 다음과 같습니다.
- Kubernetes 환경 최적화: AWX는 최신 버전으로 업데이트되면서 쿠버네티스 환경에 최적화된 아키텍처를 가지게 되었습니
- 자동화된 관리: 오퍼레이터는 AWX의 전체 라이프사이클(설치, 업그레이드, 백업 등)을 자동화하여 관리하는 데 도움을 줍니다.
- 프로덕션 환경 지원: 대규모 프로덕션 환경에서는 AWX 오퍼레이터를 사용하는 것이 가장 안정적이고 권장되는 방식입니다.
3가지로 구분되어 있기는 하지만, 오퍼레이터가 생겨난 이유 생각해보면 결국 2번 하나로 줄일 수 있을 것 같습니다.
그러나 제 경우 홈서버에 쿠버네티스 클러스터를 구성해 놓지는 않아서, KIND를 이용해서 설치해 보겠습니다. KIND 기반의 설치 방법은 아래 URL에 설명되어 있습니다.
참고: 컨테이너 실행 환경에 따라 kind와 kubectl 실행은 root 권한으로 해야할 수도 있습니다.
KIND 설치
KIND 설명서 참고해서 KIND를 설치합니다.
- https://kind.sigs.k8s.io/docs/user/quick-start/ 제 경우는 x86 Linux 이라 아래 스크립트 처럼 진행했습니다.
[ $(uname -m) = x86_64 ] && curl -Lo ./kind https://kind.sigs.k8s.io/dl/v0.30.0/kind-linux-amd64
chmod +x ./kind
sudo mv ./kind /usr/local/bin/kind
에디터로 kind.config 파일을 만듭니다.
apiVersion: kind.x-k8s.io/v1alpha4
kind: Cluster
nodes:
- role: control-plane
  extraPortMappings:
  - containerPort: 32000
    hostPort: 32000
    listenAddress: "0.0.0.0" # Optional, defaults to "0.0.0.0"
    protocol: tcp # Optional, defaults to tcp
- role: worker
kind 명령으로 클러스터를 생성합니다.
kind create cluster --config=kind.config
kubectl을 설치합니다.
- https://kubernetes.io/ko/docs/tasks/tools/install-kubectl-linux/
curl -LO "https://dl.k8s.io/$(curl -L -s https://dl.k8s.io/release/stable.txt)/bin/linux/amd64/kubectl.sha256"
# 다운로드 받은 kubectl 검증
curl -LO "https://dl.k8s.io/$(curl -L -s https://dl.k8s.io/release/stable.txt)/bin/linux/amd64/kubectl.sha256"
echo "$(cat kubectl.sha256)  kubectl" | sha256sum --check

sudo install -o root -g root -m 0755 kubectl /usr/local/bin/kubectl
클러스터 컨텍스트를 설정합니다.
$ kubectl cluster-info --context kind-kind
Kubernetes control plane is running at https://127.0.0.1:39229
CoreDNS is running at https://127.0.0.1:39229/api/v1/namespaces/kube-system/services/kube-dns:dns/proxy

To further debug and diagnose cluster problems, use 'kubectl cluster-info dump'.
$
NGINX Ingress Controller를 설치합니다.
kubectl apply -f https://raw.githubusercontent.com/kubernetes/ingress-nginx/main/deploy/static/provider/kind/deploy.yaml
AWX 설치
네임스페이스 컨텍스트를 설정합니다.
kubectl config set-context --current --namespace=awx
레포지토리에서 클론하고, 실행할 태그를 선택합니다.
git clone https://github.com/ansible/awx-operator.git
cd awx-operator

# 태그를 확인하고, 2.19.1으로 설정
git tag
git checkout tags/2.19.1
kustomization.yaml 파일을 만듭니다. 앞서 사용한 태그를 사용합니다.
apiVersion: kustomize.config.k8s.io/v1beta1
kind: Kustomization
resources:
  # Find the latest tag here: https://github.com/ansible/awx-operator/releases
  - github.com/ansible/awx-operator/config/default?ref=2.19.1

# Set the image tags to match the git version from above
images:
  - name: quay.io/ansible/awx-operator
    newTag: 2.19.1

# Specify a custom namespace in which to install AWX
namespace: awx
kustomization.yaml 을 적용합니다.
kubectl apply -k .
awx-cr.yaml을 만듭니다.
---
apiVersion: awx.ansible.com/v1beta1
kind: AWX
metadata:
  name: awx-demo
spec:
  service_type: nodeport
  nodeport_port: 32000
AWX CR을 만듭니다.
kubectl create -f awx-cr.yaml
미니 서버라 그런지 서비스 다 올라오는데 1~2분 정도 걸렸습니다.
$ kubectl get pod
NAME                                               READY   STATUS      RESTARTS   AGE
awx-demo-migration-24.6.1-m8kvf                    0/1     Completed   0          4m50s
awx-demo-postgres-15-0                             1/1     Running     0          6m31s
awx-demo-task-864db57669-2b6d5                     4/4     Running     0          5m42s
awx-demo-web-55495bcb56-frf2w                      3/3     Running     0          5m43s
awx-operator-controller-manager-6686bb5899-qgvnj   2/2     Running     0          7m49s
$
$ kubectl get svc
NAME                                              TYPE        CLUSTER-IP      EXTERNAL-IP   PORT(S)        AGE
awx-demo-postgres-15                              ClusterIP   None            <none>        5432/TCP       6m6s
awx-demo-service                                  NodePort    10.96.171.206   <none>        80:32000/TCP   5m20s
awx-operator-controller-manager-metrics-service   ClusterIP   10.96.171.205   <none>        8443/TCP       8m4s
$
별도로 관리자 id, 암호를 설정하지 않았기 때문에 기본 ID는 admin 입니다. 암호는 임의로 생성되었고, 다음과 같이 확인합니다.
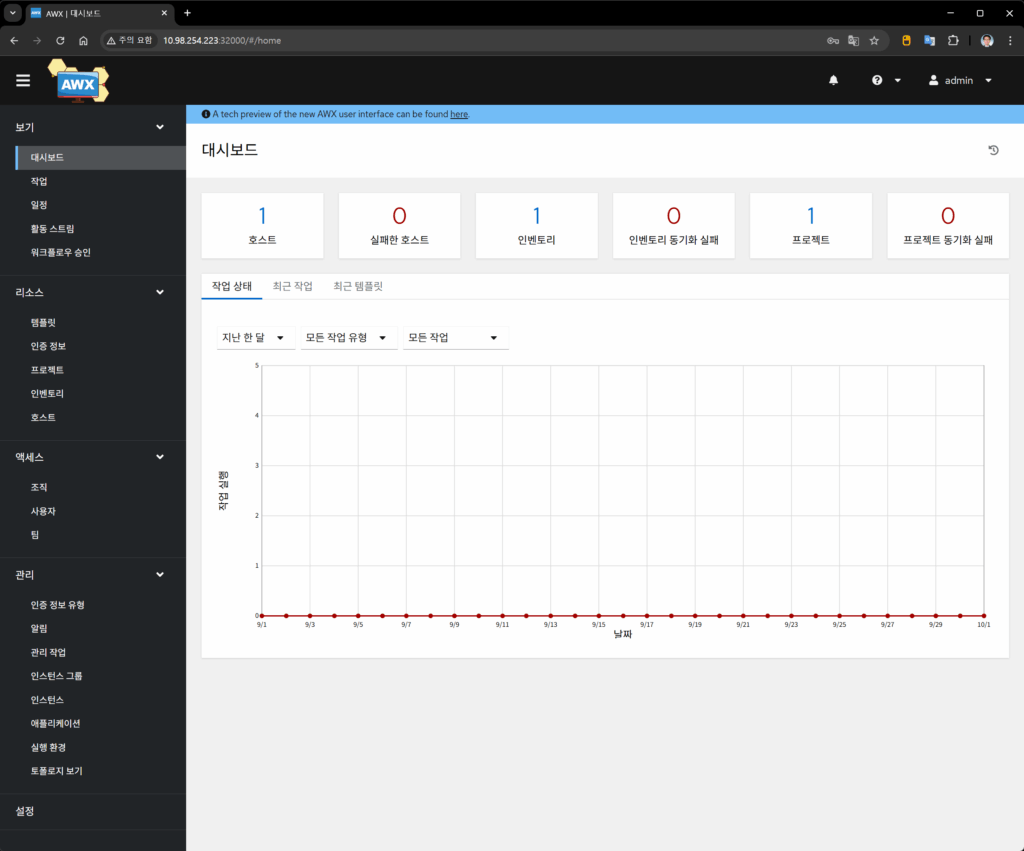
sudo kubectl get secret awx-demo-admin-password -o jsonpath="{.data.password}" | base64 --decode; echo이 경우 http://hostaddress:32000 으로 접속하면 AWX 로그인 화면을 볼 수 있습니다. 로그인 화면과 첫 화면은 다음과 같습니다.