Proxmox VE 서버에 장애가 발생하면, 우선 노드(호스트)를 이전 상태로 복원하고나서 VM을 복원하는게 이상적입니다. 그러나 아쉽게도 Proxmox VE는 호스트를 백업하고 복원하는 공식적인 도구를 제공하지 않고 있습니다. 대신 인터넷을 검색해보면 이를 처리해주는 스크립트를 몇 가지 볼 수 있습니다.
그 중에 DerDanilo 님이 GitHub에 공유한 Proxmox stuff 중 prox_config_backup.sh와 prox_config_restore.sh를 이용한 방법에 대해서 알아 보겠습니다.

- URL : https://github.com/DerDanilo/proxmox-stuff/
- 백업 스크립트 : https://raw.githubusercontent.com/DerDanilo/proxmox-stuff/master/prox_config_backup.sh
- 복원 스크립트 : https://raw.githubusercontent.com/DerDanilo/proxmox-stuff/master/prox_config_restore.sh
스크립트 다운로드 및 권한 설정
위 링크 정보를 참고해서 /root 디렉토리에, wget 명령으로 스크립트를 다운로드 받습니다.
그리고 chmod 명령으로 실행 권한을 줍니다.
cd /root
wget https://raw.githubusercontent.com/DerDanilo/proxmox-stuff/master/prox_config_backup.sh
wget https://raw.githubusercontent.com/DerDanilo/proxmox-stuff/master/prox_config_restore.sh
chmod +x prox_config_backup.sh
chmod +x prox_config_restore.sh
ls -l prox_config_*
실행 예
root@pve-01:~# cd /root
root@pve-01:~# wget https://raw.githubusercontent.com/DerDanilo/proxmox-stuff/master/prox_config_backup.sh
--2025-02-25 22:33:10--  https://raw.githubusercontent.com/DerDanilo/proxmox-stuff/master/prox_config_backup.sh
Resolving raw.githubusercontent.com (raw.githubusercontent.com)... 185.199.108.133, 185.199.109.133, 185.199.110.133, ...
Connecting to raw.githubusercontent.com (raw.githubusercontent.com)|185.199.108.133|:443... connected.
HTTP request sent, awaiting response... 200 OK
Length: 6099 (6.0K) [text/plain]
Saving to: ‘prox_config_backup.sh’

prox_config_backup.sh         100%[=================================================>]   5.96K  --.-KB/s    in 0s

2025-02-25 22:33:10 (109 MB/s) - ‘prox_config_backup.sh’ saved [6099/6099]

root@pve-01:~# wget https://raw.githubusercontent.com/DerDanilo/proxmox-stuff/master/prox_config_restore.sh
--2025-02-25 22:37:36--  https://raw.githubusercontent.com/DerDanilo/proxmox-stuff/master/prox_config_restore.sh
Resolving raw.githubusercontent.com (raw.githubusercontent.com)... 185.199.110.133, 185.199.108.133, 185.199.111.133, ...
Connecting to raw.githubusercontent.com (raw.githubusercontent.com)|185.199.110.133|:443... connected.
HTTP request sent, awaiting response... 200 OK
Length: 2341 (2.3K) [text/plain]
Saving to: ‘prox_config_restore.sh’

prox_config_restore.sh        100%[=================================================>]   2.29K  --.-KB/s    in 0s

2025-02-25 22:37:36 (24.0 MB/s) - ‘prox_config_restore.sh’ saved [2341/2341]

root@pve-01:~# chmod +x prox_config_backup.sh
root@pve-01:~# chmod +x prox_config_restore.sh
root@pve-01:~# ls -l prox_config_*
-rwxr-xr-x 1 root root 6099 Feb 25 22:33 prox_config_backup.sh
-rwxr-xr-x 1 root root 2341 Feb 25 22:37 prox_config_restore.sh
root@pve-01:~#
백업 파일 경로 설정
백업 데이터를 저장할 경로가 존재하는지 확인하고, export 명령으로 백업 파일을 저장할 경로를 지정합니다.
export BACK_DIR="/mnt/usb/pve_backup"
디렉토리가 없으면 다음과 같은 오류 메시지가 표시되고, 스크립트는 실행되지 않습니다.
root@pve-01:~# ./prox_config_backup.sh
Aborting because backup target does not exists
백업 스크립트 실행
다음과 같이 백업 스크립트 파일을 실행시킵니다.
./prox_config_backup.sh
실행시키면 다음과 같은 화면이 표시됩니다.
Proxmox Server Config Backup
Hostname: "pve-01"
Timestamp: "2025-02-25.22.47.59"
Files to be saved:
"/etc/*, /var/lib/pve-cluster/*, /root/*, /var/spool/cron/*, /usr/share/kvm/*.vbios"
Backup target:
"/mnt/usb/pve_backup"
-----------------------------------------------------------------
This script is supposed to backup your node config and not VM
or LXC container data. To backup your instances please use the
built in backup feature or a backup solution that runs within
your instances.
For questions or suggestions please contact me at
https://github.com/DerDanilo/proxmox-stuff
-----------------------------------------------------------------
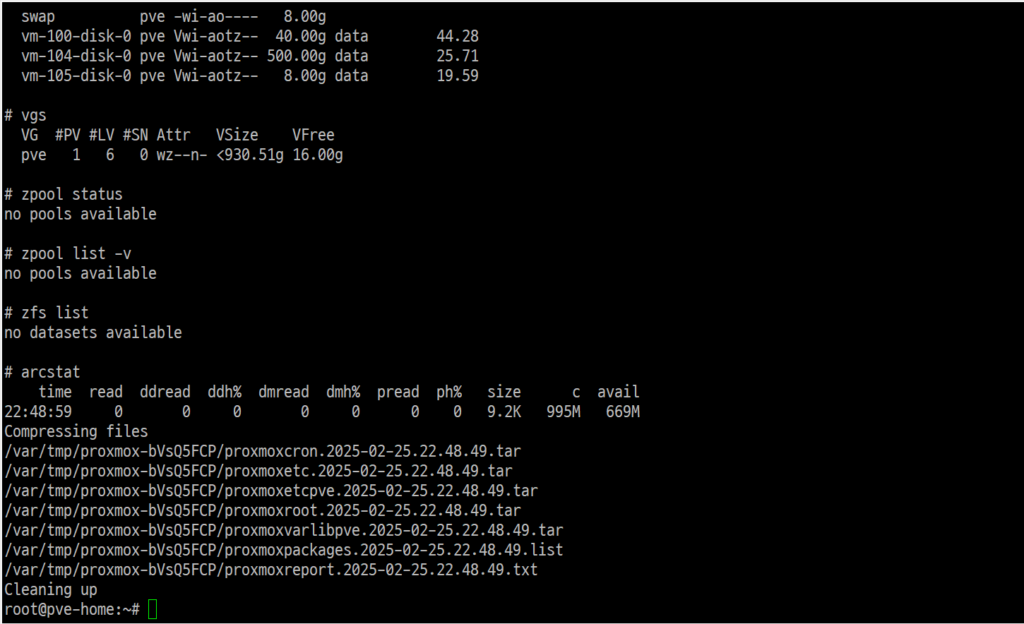
Hit return to proceed or CTRL-C to abort.여기서 엔터 키를 누르면 각종 백업 파일이 처리되는 화면이 표시되고, 최종적으로 그림과 같은 화면이 표시됩니다.
ls 명령으로 백업 파일이 잘 만들어졌는지 확인합니다.
root@pve-01:~# ls -l /mnt/usb/pve_backup/
total 1048
-rwxr-xr-x 1 root root 1068122 Feb 25 22:48 pve_pve-01_2025-02-25.22.48.49.tar.gz
root@pve-01:~#
백업 파일 보관
생성된 백업 파일은 노드의 구성 정보를 담고 있습니다. 이 파일은 Proxmox VE와는 다른 저장장치(외장저장장치, 클라우드 등) 보관하기 바랍니다. 그래야 Proxmox VE 손상시에 복구용으로 사용할 수 있습니다.
노드 복원
(1) 복원용 쉘 스크립트가 있는 /root 디렉토리로 이동합니다.
(2) 복원에 사용할 백업 파일을 현재 디렉토리로 복사합니다.
(3) 복원에 사용할 파일 이름을 지정해서 쉘 스크립트를 실행합니다.
cd /root
cp /mnt/usb/pve_backup/pve_pve-05_2025-02-26.10.02.58.tar.gz .
./prox_config_restore.sh pve_pve-05_2025-02-26.10.02.58.tar.gz
복원 스크립트 실행할 때 백업 파일 이름을 지정하지 않으면 그림과 같은 내용이 표시됩니다.
root@pve-01:~# ./prox_config_restore.sh
Argument missing -> restore.sh pve_proxmoxhostname_2023-12-02.15.48.10.tar.gz
스크립트 파일이 실행되면 그림과 같은 메시지가 표시됩니다. 1을 입력해서 진행합니다.
root@pve-01:~# ./prox_config_restore.sh pve_pve-05_2025-02-26.10.02.58.tar.gz
Select restore mode:
1) Default restore
2) Restore with /etc/fstab commented out and saved as /etc/fstab_RESTORED
Enter choice (1 or 2):
스크립트가 여러 파일을 복원합니다. 구성에 따라 여러화면이 스크롤 되면서 진행됩니다.
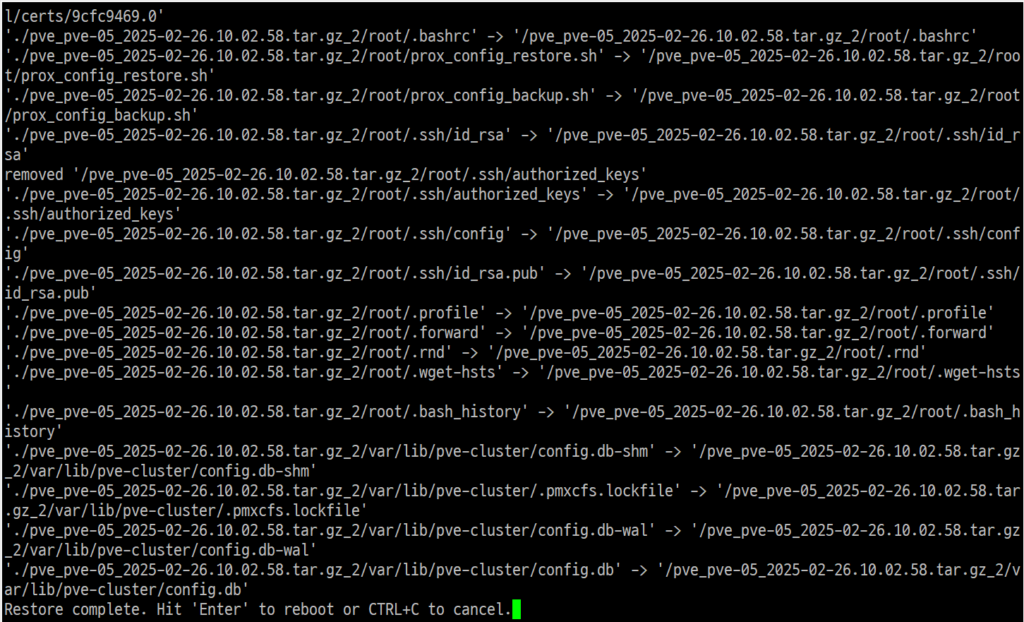
그림에서 보는 것 처럼 복원이 끝나면 다음과 같은 메시지가 표시됩니다.
Restore complete. Hit 'Enter' to reboot or CTRL+C to cancel.
엔터키를 입력하면 리부팅이 진행됩니다. 리부팅된 이후에 잘 복원됐는지 확인합니다.
참고: README.MD의 백업 방법
GitHub에는 다음과 같이 설명되어 있습니다.
- 스크립트 다운로드 :
cd /root/; wget -qO- https://raw.githubusercontent.com/DerDanilo/proxmox-stuff/master/prox_config_backup.sh - Set the permanent backups directory environment variable
export BACK_DIR="/path/to/backup/directory"명령으로 백업 디렉토리 확경 변수를 설정하거나, 스크립트의$DEFAULT_BACK_DIR변수를 원하는 백업 디렉토리로 설정 chmod +x ./prox_config_backup.sh명령으로 스크립트 실행 권한 설정- (요구 사항은 아님) 안전한 방법을 사용하려면 모든 VM + LXC Container를 종료
./prox_config_backup.sh명령으로 스크립트 실행
참고: README.MD의 복원 방법
GitHub에는 다음과 같이 설명되어 있습니다.
- 스크립트 다운로드 :
cd /root/; wget -qO- https://raw.githubusercontent.com/DerDanilo/proxmox-stuff/master/prox_config_restore.sh - Make the script executable
chmod +x ./prox_config_restore.sh명령으로 스크립트 실행 권한 설정 ./prox_config_restore.sh proxmox_backup_proxmoxhostname_2017-12-02.15.48.10.tar.gz와 같은 형식으로 스크립트 실행


